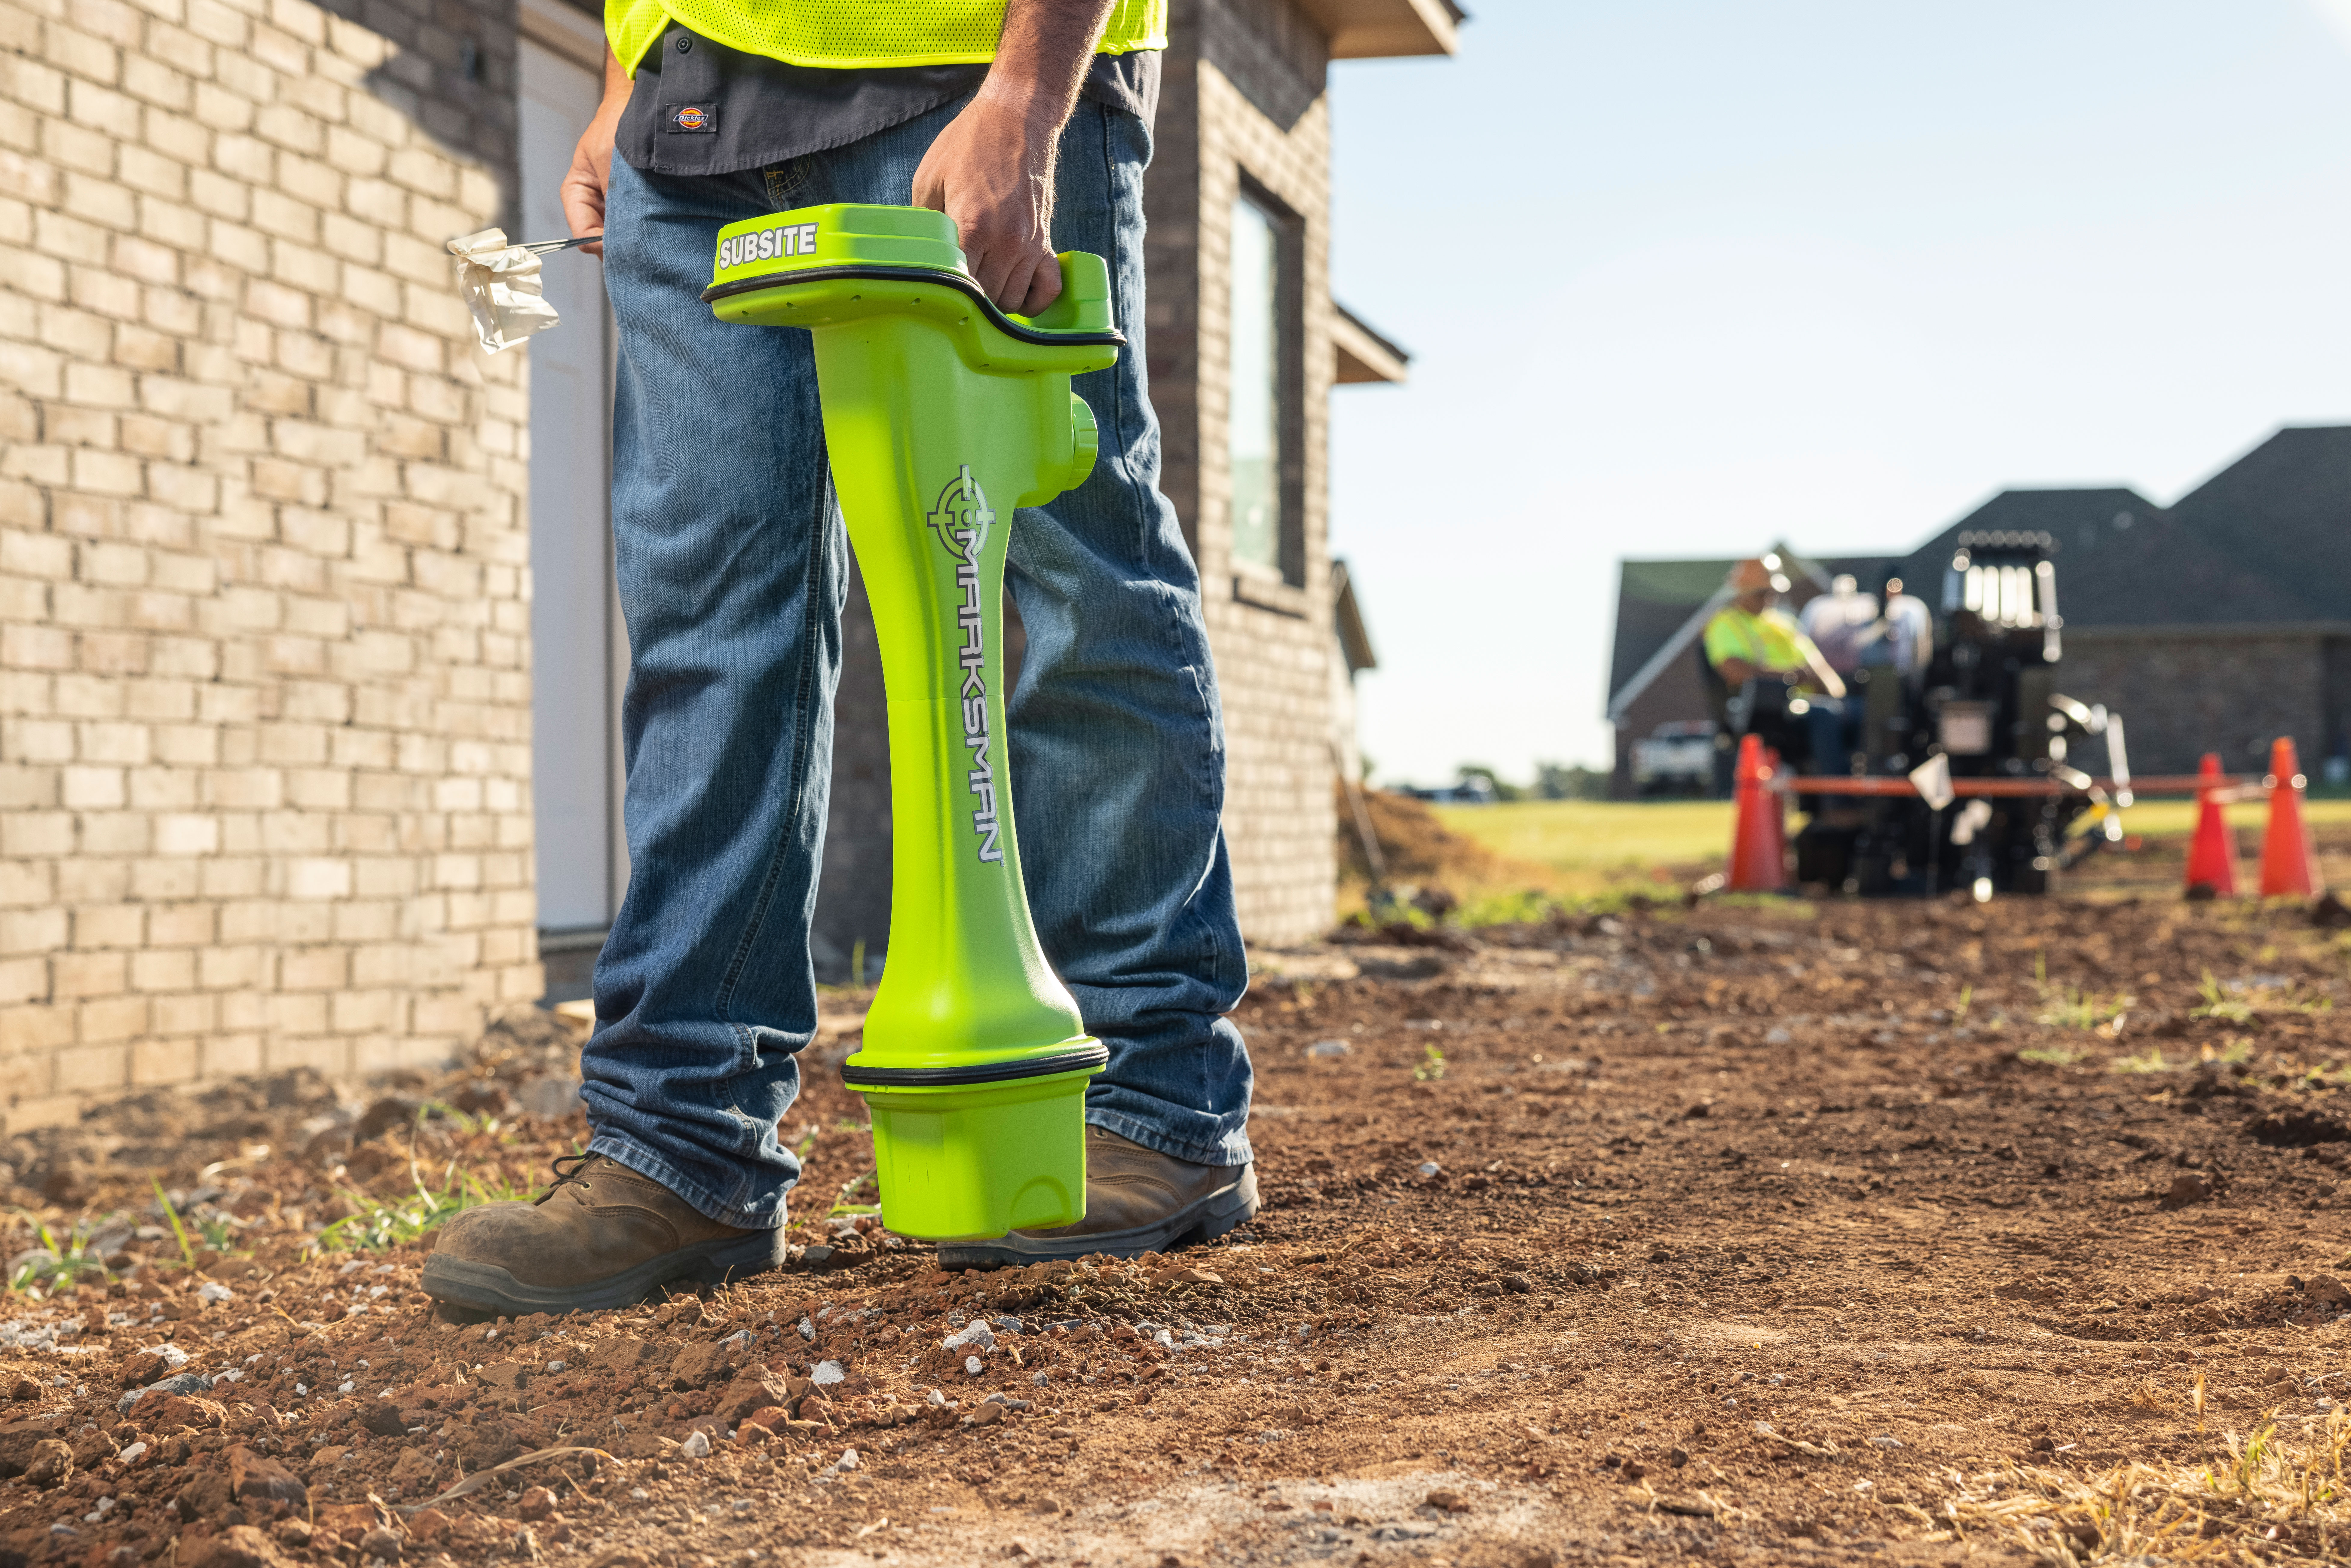
Mastering Marksman and Marksman+ Calibration: A Comprehensive Guide

Effective calibration of your Marksman or Marksman+ system is crucial for accurate and reliable underground construction. This guide provides a detailed walkthrough for both connected and manual calibration processes, as well as jobsite procedures to increase optimal performance.
Jobsite Procedures
- Identify Interference:
- Passive Interference: Visually check for passive interference from sources like chain link fences or culverts.
- Active Interference: Use the Bore Path Analyzer (Marksman+ only) to determine the best frequencies for active interference sources like cell phone towers and power lines. Note that the BPA does not check for passive interference.
- Prepare Beacon:
- Confirm the beacon connection icon on the tracker, which indicates a successful Bluetooth connection between the beacon and the tracker.
- For the Marksman system: The tracker automatically selects three frequencies.
- For the Marksman+ system: Select appropriate frequencies based on your BPA analysis.
- Calibrate and Verify Depth:
- Follow the calibration procedures outlined below and verify depth accuracy at 10 and 15 feet, if applicable.
- Check Noise Floor:
- Ensure that the beacon is either “off” or “asleep.” Then, access the menu and select “Noise Floor,” measuring at every 50 feet along the intended bore path or at known points of potential interference. The tracker will generate a graph that shows the actual noise floor at each measured point.
- Ensure Communication:
- Verify that tracker telemetry is “on”. Set both tracker and display to the same channel. Confirm communication through the sync bars on both devices.
Connected Calibration Process
- Power Up: Start by powering up both the tracker and beacon. Ensure that power remains on throughout the entire calibration process and use high-quality lithium batteries for best results.
- Position the Equipment: Install the beacon in its housing and place it on the ground. Position the tracker parallel to the beacon and 10 feet away from it. Ensure that the tracker is at least 20 feet away from the drill, metallic objects, and utilities.
- Establish Connection: Confirm the beacon connection icon on the tracker, which indicates a successful Bluetooth connection between the beacon and the tracker.
- Begin Calibration: Navigate to Menu > Beacon > Depth Calibration.
- For the Marksman system: The tracker will automatically select three frequencies based on your power grid (50hz or 60hz). The calibration screen will show as ready. Start the calibration.
- For the Marksman+ system: Select the appropriate frequencies required for the job. The calibration screen will show as ready. Start calibration, it will calibrate selected frequency in both normal and high power.
- Execute and Verify Calibration: Ensure the calibration process is performed on all selected frequencies. Once the Depth Confirmation screen indicates completion, verify depths at 5 and 10 feet. For drilling depths greater than 10 feet, verify at 10 and 15 feet for each frequency.
- Exit and Begin Boring: Scroll to your starting frequency. Use the key on the left side of the screen to select to exit the “Depth Confirmation” to start boring.
Manual Calibration Process
- Power Up: As with the connected process, power up both the tracker and beacon using lithium batteries and keep them powered throughout.
- Frequency Matching: Ensure that the beacon and tracker are set to the same frequency. This is indicated by “packets of information” on the walkover screen.
- Install and Position: Install the beacon in its housing and place it on the ground. Position the tracker parallel and 10 feet away from the beacon, maintaining a distance of at least 20 feet from the drill, metallic objects, and utilities.
- Start Calibration: Go to Menu > Beacon > Depth Calibration. Select start calibration. The tracker will calibrate only the selected frequency and power level.
- Complete Calibration: Execute the calibration. Once finished, the Depth Confirmation screen will indicate completion. Verify depths at 5 and 10 feet, or at 10 and 15 feet if drilling deeper than 10 feet, for each frequency used.
- Exit Calibration: Select and exit the “Depth Confirmation” screen to start your bore.
Jobsite Awareness
- Types of Interference:
- Active Interference: Higher frequencies can help overcome active interference from electromagnetic energy sources (e.g. traffic loops and power lines).
- Passive Interference: Lower frequencies can mitigate issues from reflective or distorted signals transmitted but the beacon (e.g. adjacent utilities, rebar, and high salinity soil conditions).
- Changing Frequency Downhole:
- Access the settings menu on the display, select “set beacon,” and choose the desired frequency and power level. Follow the roll sequence, and a pop-up on both the tracker and display will indicate the frequency and power level to which the beacon is switching. The tracker will automatically adjust to this frequency to continue boring.
- Ensure that you select a calibrated frequency during this process and avoid boring with an uncalibrated frequency or power level.
- Power Tips:
- Always use high-quality lithium batteries in Subsite beacons. Alkaline batteries may not withstand the shock loads during drilling.
By following these detailed calibration procedures and jobsite practices, you can increase accurate performance and reliability for your underground construction projects.
